Grand Archway - part IV
Published 17 Jan 2026
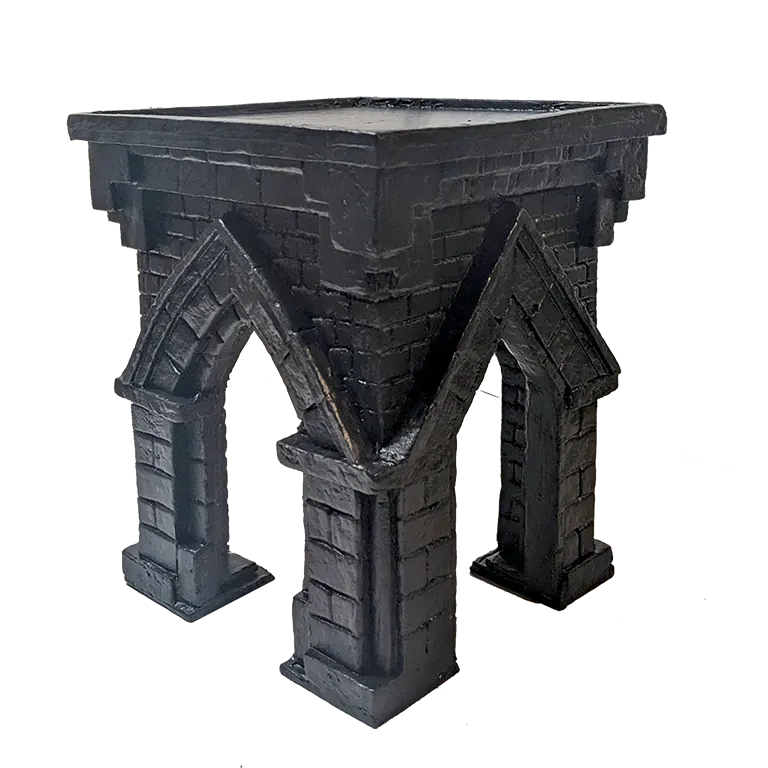
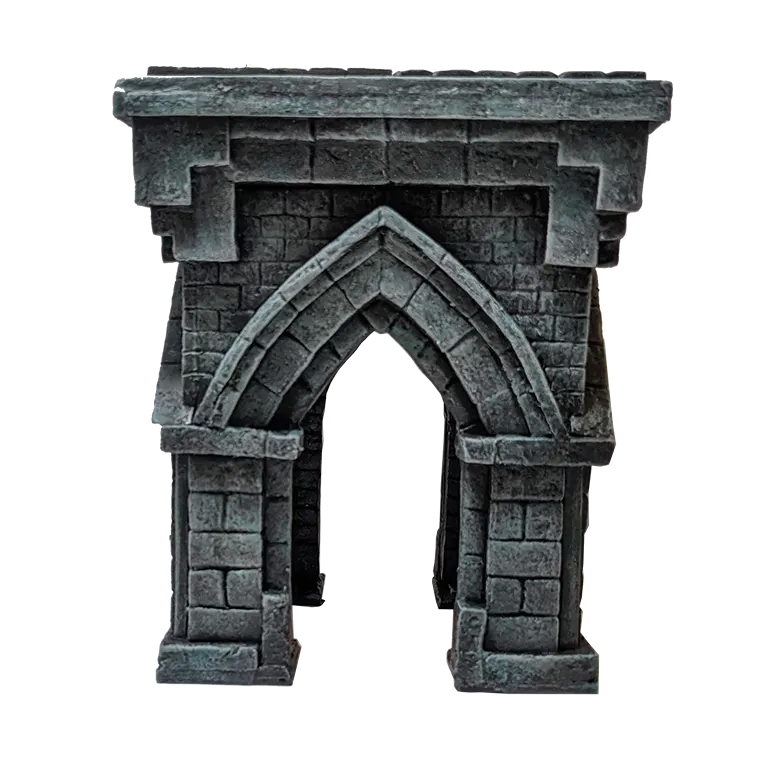
Ready for paint...
The first step is to get a mixture of modge-podge (pretty much PVA glue) and black paint slathered over the whole thing. After it dried I applied at least another coat (possibly 2). I removed the tiles for this and did them seperately. This provides a thick a protective layer that is needed if I want to use this on the tabletop. It simultaneously provides a black base coat from which to start building up colour. I batched this step with some other terrain pieces that I had been working on, like the stairs you can see in the background.
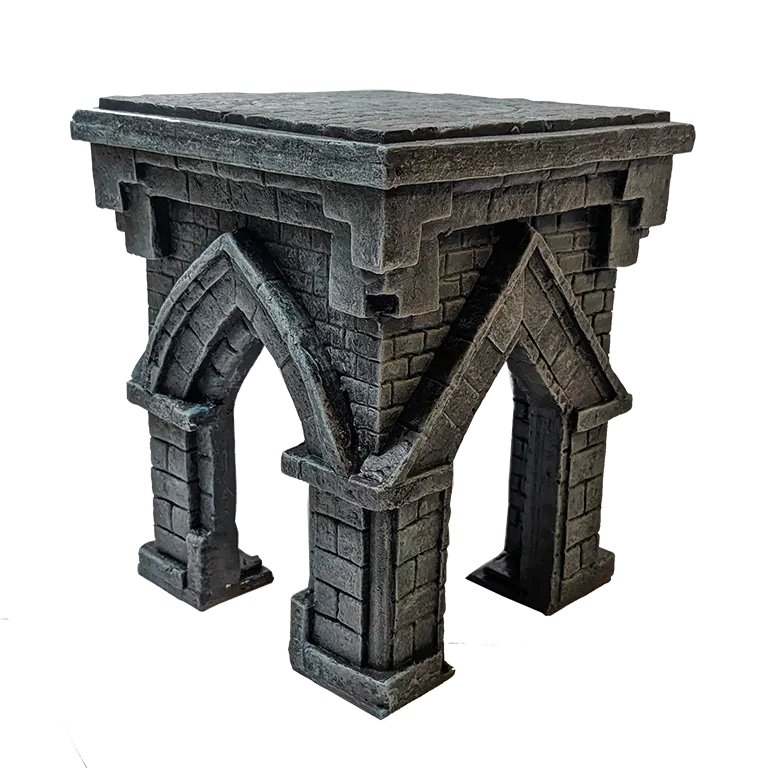
Already looking better! The tileset
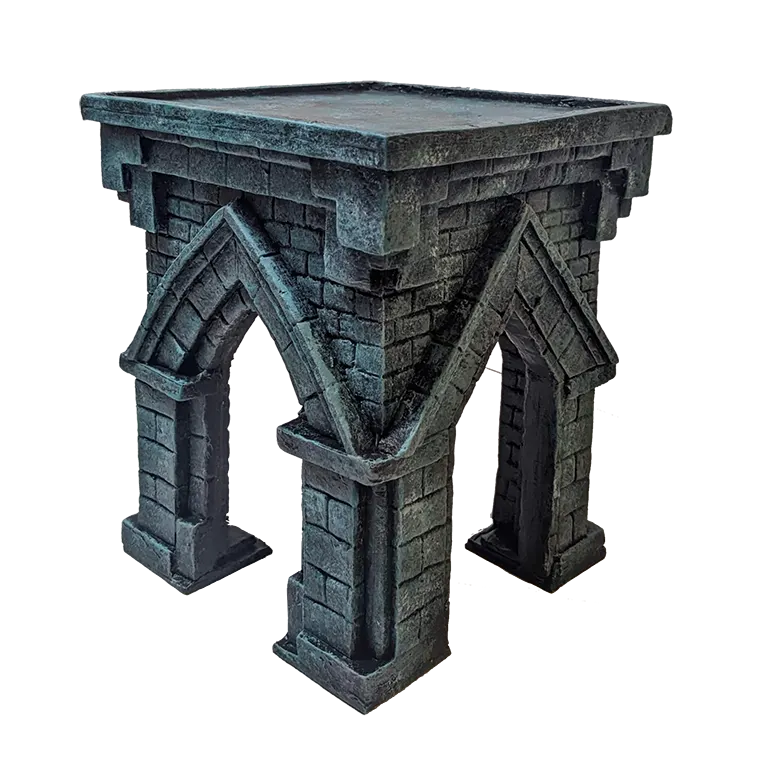
The top of the thing took a lot more layers before it was looking nice and smooth, but it was very satisfying once it was dry.
It took several layers to get the top nice and smooth
I had time to use the piece in a game of FrostGrave. It certainly adds some height, although the scale could perhaps be a bit smaller.
The arch in action before being painted
The paints:
STEP 1
Mix acrylic craft paint with modge-podge, or equivalent PVA glue.
This is well known combo in the terrain crafting world, to provide both a protective coat over the foam and a base coat.
It will be very tacky and shiny at this stage.
STEP 2
Keeping things simple, a heavy drybrush with white.
I would recommend getting some mid-range acrylic craft paint for this rather than the cheapest one, it will make a difference.
The trick is to keep your brush a little moist. You can achieve this by rubbing the paint off on a piece of cardboard rather than a paper towel, which tends to absorb the moisture.
You can see that I didn't really get a smooth application, but this is terrain! Texture is good.
STEP 3
The fun bit - pick some colours you like and stab random patches all over the piece.
I chose cold greeny-blue to give the feel I was after: an ancient, dank frostbitten city.
Really you can pick any colours you want. I find that having a slight variaion in hue can go a long way to adding depth and character to the paint job.
STEP 4
Although it was looking very bright and saturated at this stage, I punched it up a step futher with another dry brush with a pale blue.
I also added some random patches in the same way as the previous step, but less dense as this colour stands out a lot.
STEP 5
And the final step to bring it all back down to earth - a lovely black oil wash.
Oil washes on terrain pieces are an incredible way to deepen shadows and bring out all the fine details.
You can also use watered down acrylic, but I find oils give a deeper finish - I was going to say saturated, but this is black!
I let it dry for a few hours before wiping off what I could from the surface.
The final result is back to being quite grey, but the subtle colours add a lot I think.
And there you go. The piece was finally finished. It took a lot longer than I thought, but I learned a ton and the hours sunk were well worth it. When life feels like a lot, having a hobby that takes you to another world is such a blessing. So next time you’re having a rough week, I’d highly recommend making a miniature gothic foam archway from scratch… does wonders.
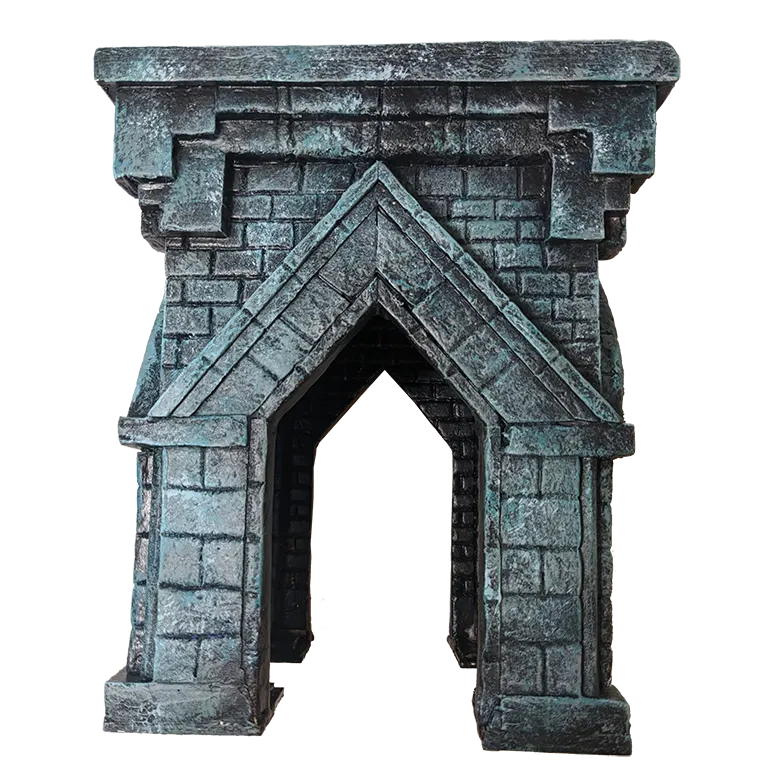
View from the top.
The piece is nice and weighty due the unspeakable amount of hot glue used to attach all the foam bricks. It’s an odd size in the 28mm scale though, but then again all my recent foam creations are slightly oversized. I am going with the idea that my frozen city that I am crafting for playing FrostGrave was once lived in by giants, who mysteriously vanished and left the place frozen in the ice - only now, a millenium later, beginning to thaw.
I finished this in January 2025 but it took me a while to get around to writing it up. I have had the arch sitting somewhere nearby me on display for about a year, and I am pleased whenever I look at it. But writing this has reminded me just much how much work went into it. A glorious journey of discovery, flow state and hot glue.