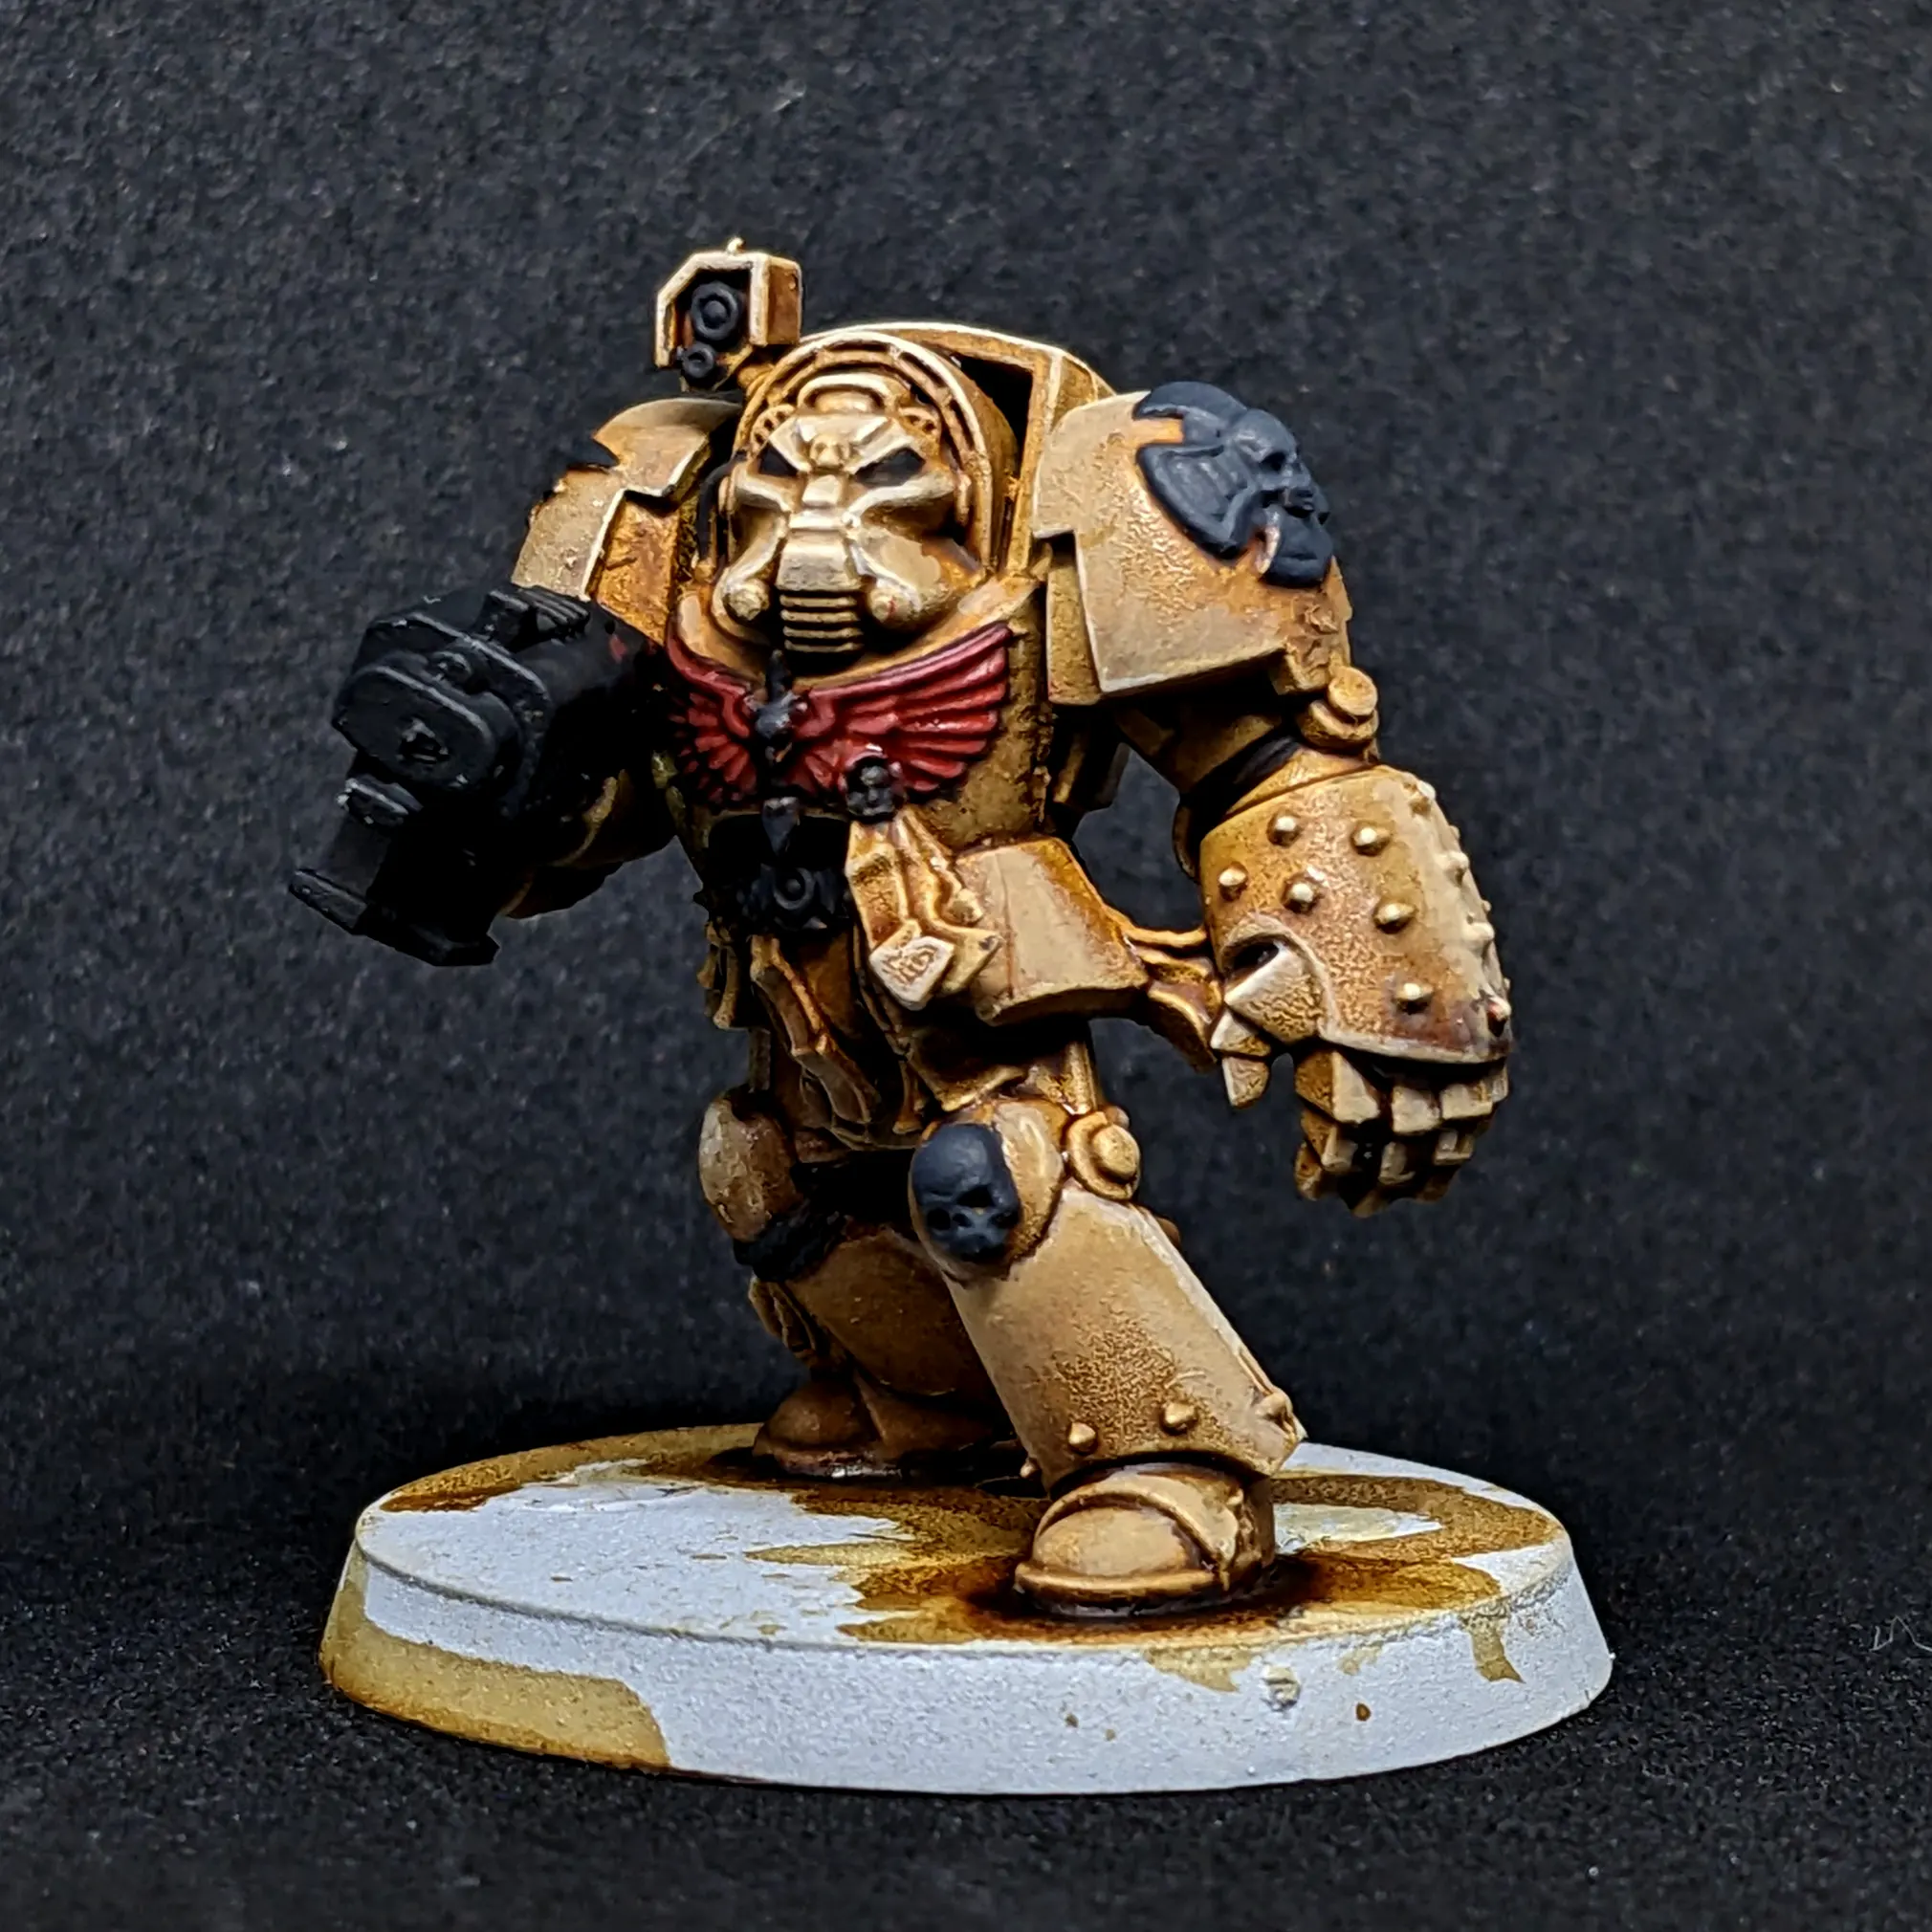
Grimdark Deathwing Armour Recipe
Published 9 Dec 2023
The Deathwing terminators are iconic models from the Dark Angels range - but the bright bone coloured armour always feels a bit sqeaky clean to me. Additionally most approaches to making this more realistic and “grimdark” tend to move towards the grey side of things, whereas I want to keep my army’s palette in the warm spectrum.
In particular I was aiming for a kind of parchment-like colour and maybe even give some texture to the armour to give it a truly ancient feeling. These are the oldest and most revered members of the chapter after all! Now I’m not a great painter by any means but I have a lot of fun experimenting and getting the effects that I like, and I’m really happy with how this armour came out. I’m confident that over time this will evolve and improve as I gain experience, but for now I give you my first Deathwing recipe.
The paints:
STEP 1
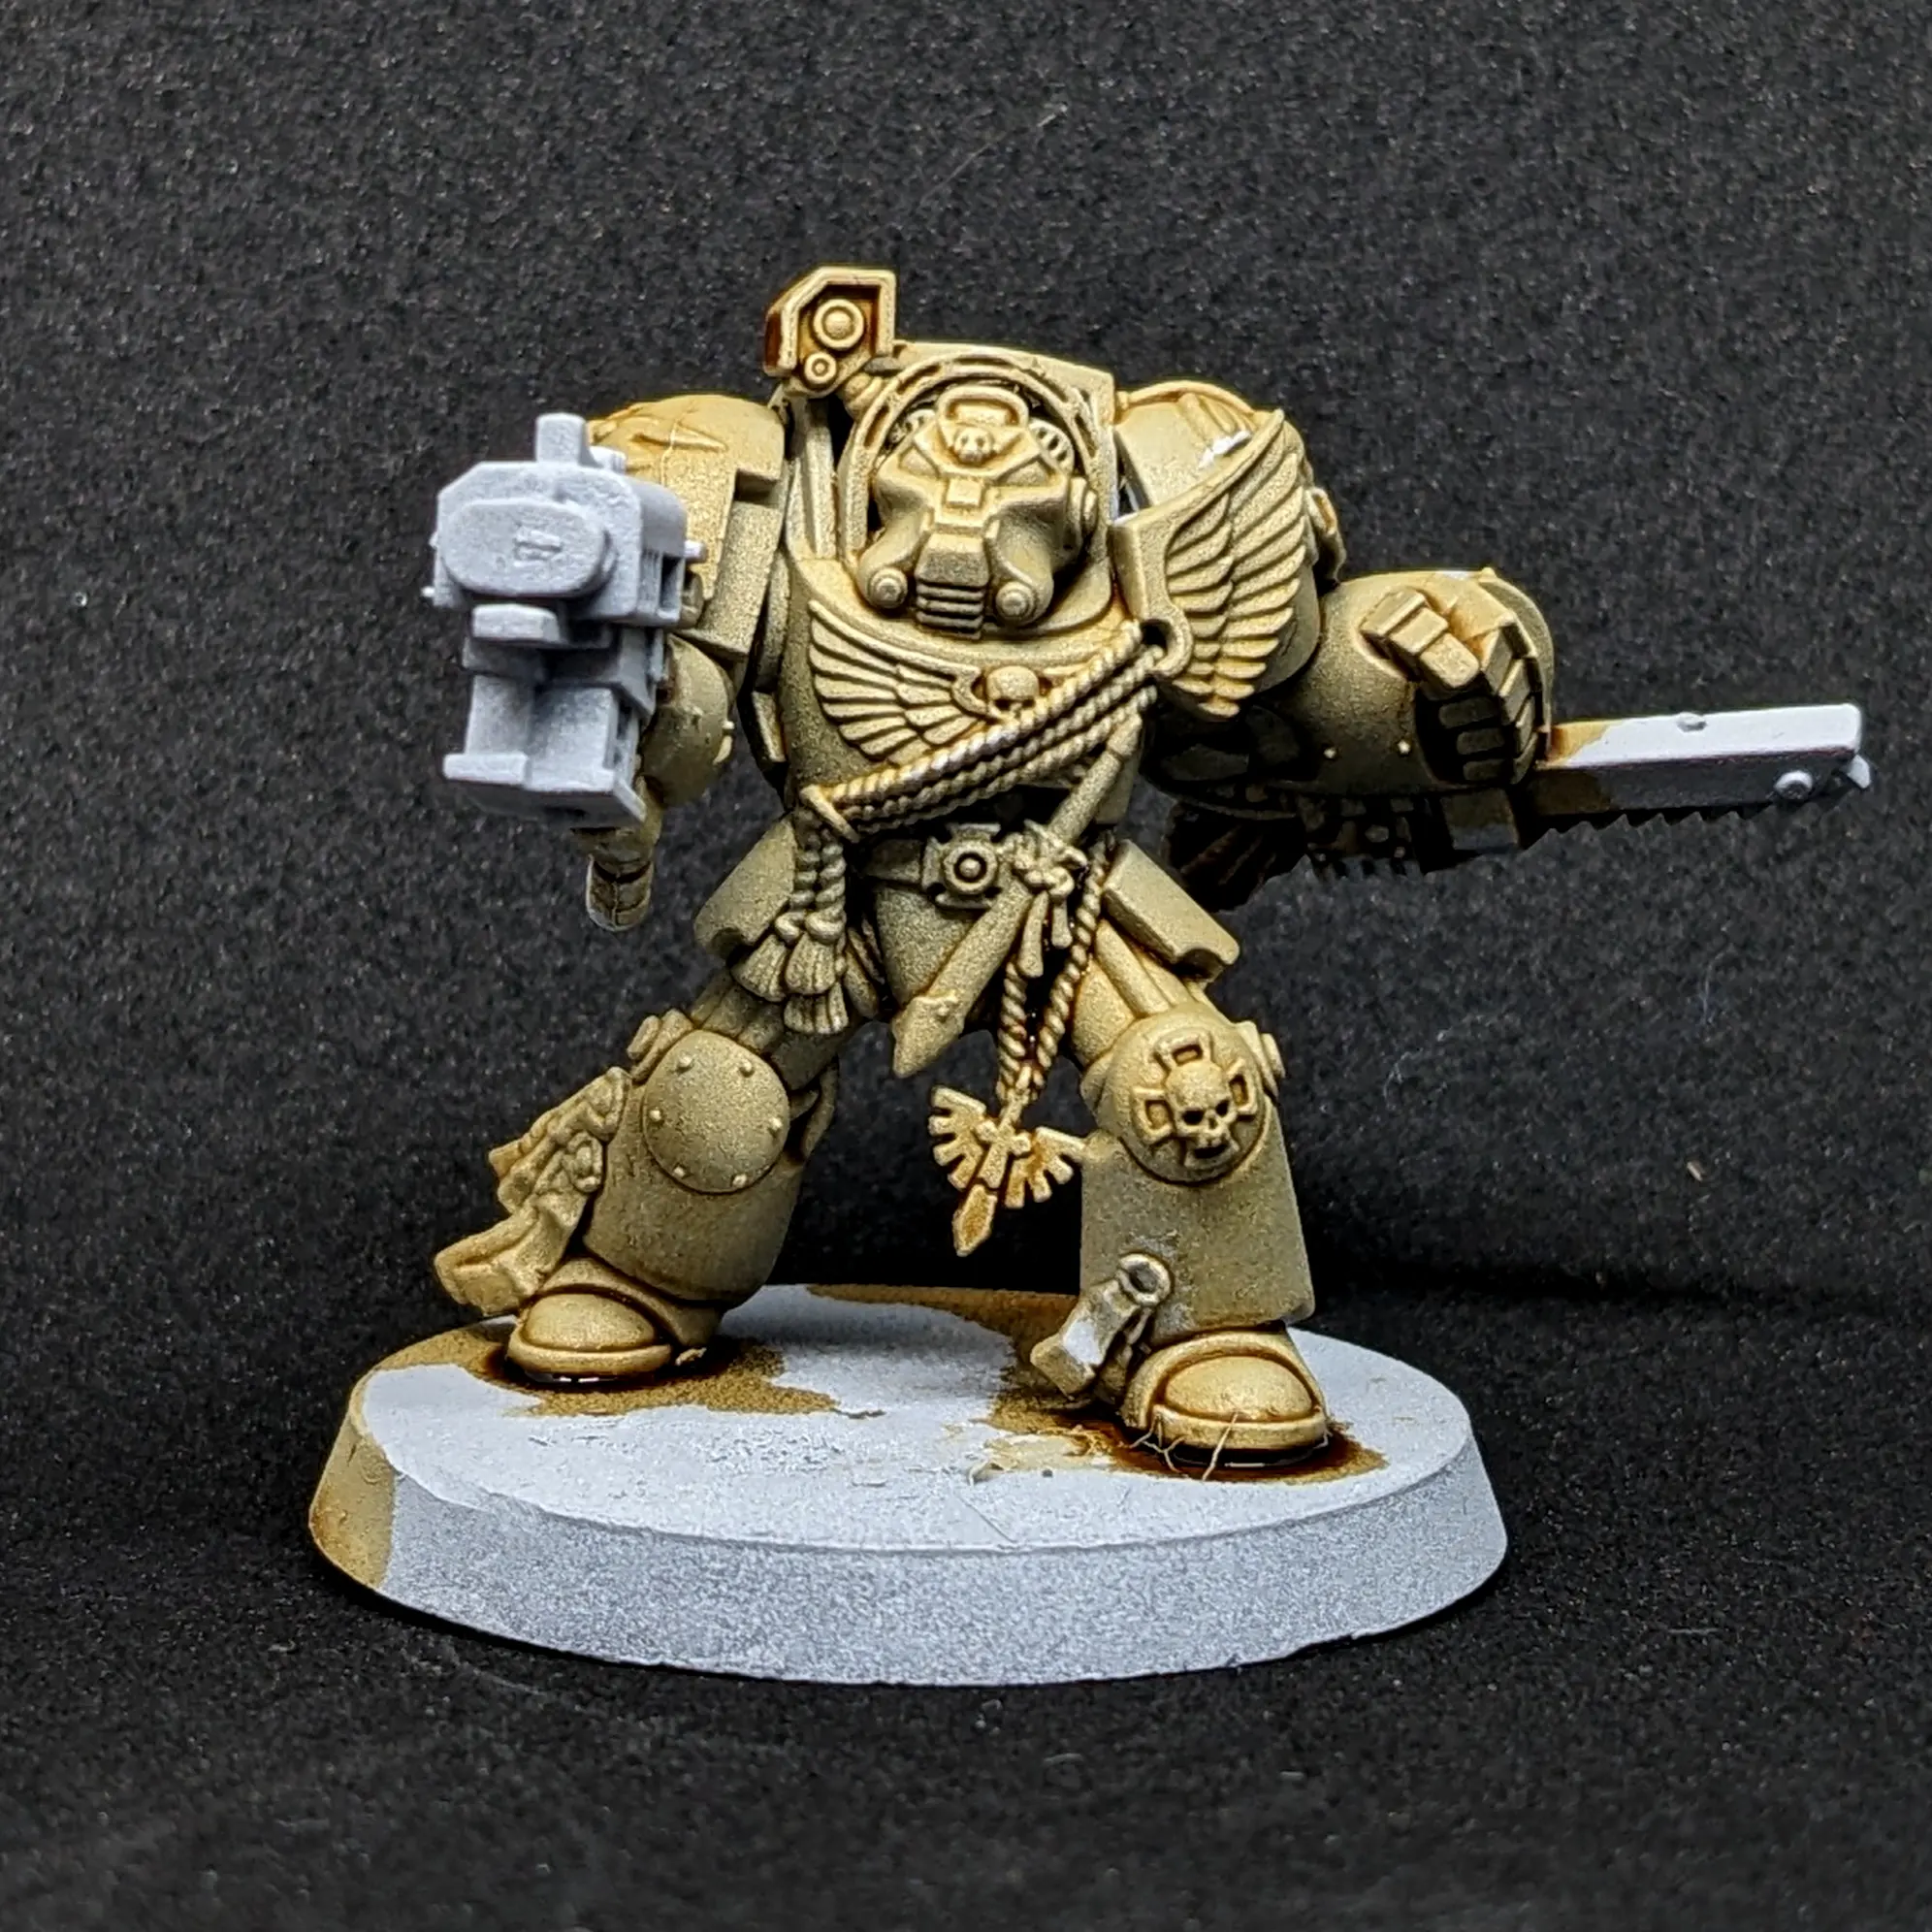
We start off from a neutral grey prime from a spraycan with a similarly budget rattlecan zenithal in white. For me though, it didn't do a lot here - it was pretty much a pure white covering!
The first paint applied is our bone coloured Speedpaint. This is translucent which lets the undercoat shine through. If we used straight grey here it would look a lot more dull.
The reason I use Speedpaint is because bone/white acrylic paint can get quite chalky due to large pigment sizes, and is therefore hard to apply smoothly. The Speedpaint gives me a smooth even coverage to start from.
STEP 2
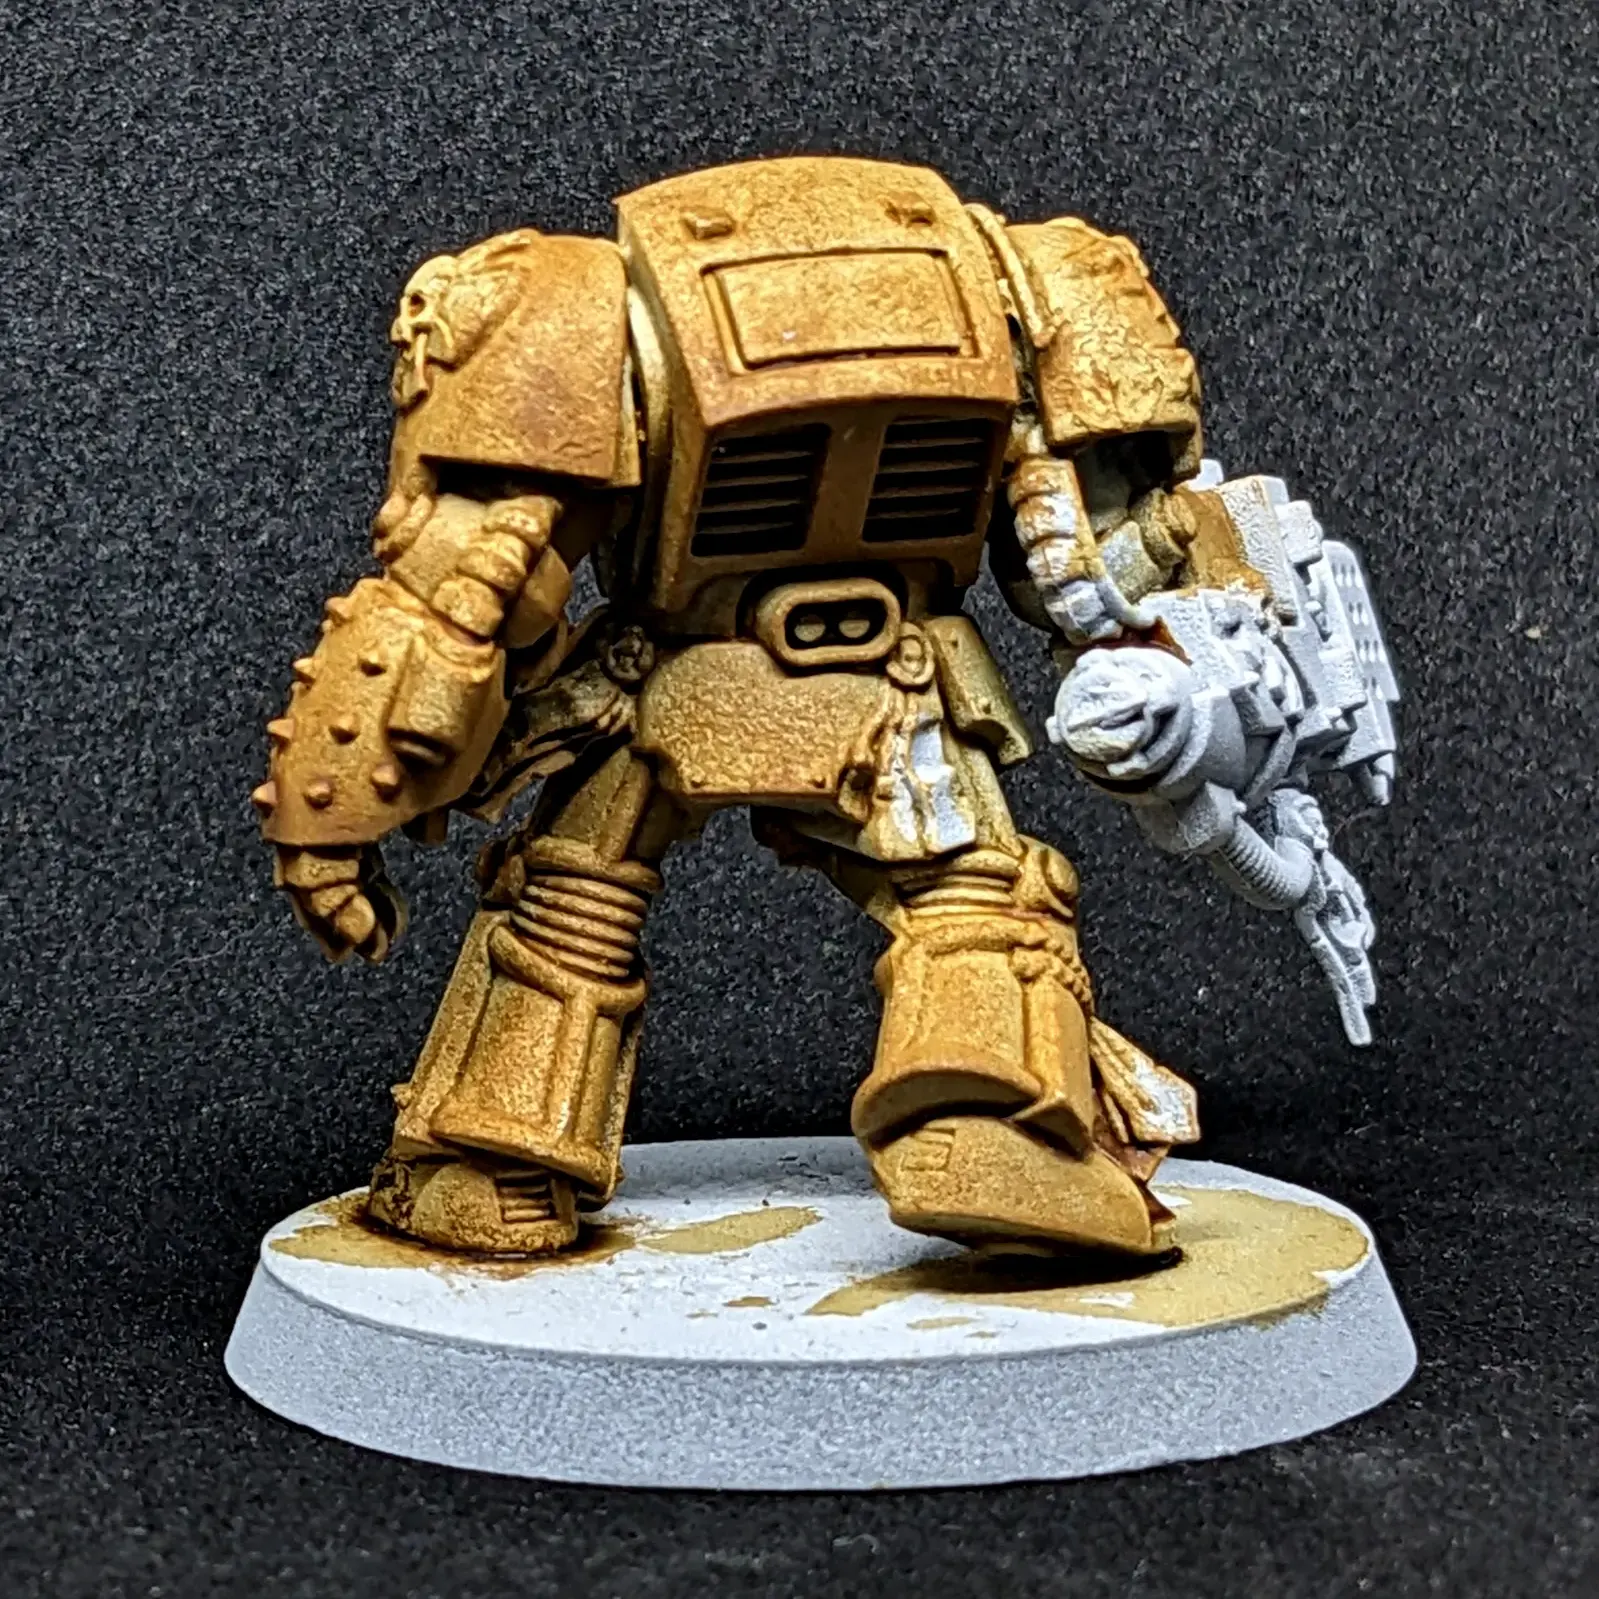
Next I wanted to try to get a textured parchment like look to give the armour an ancient feel. I took a cheap synthetic brush and cut the bristles short, to make them stiff and splay out. With this I heavily stippled on the earth brown colour.
This "flat earth" colour has a nice warmth to it that really comes out over the bone base.
STEP 3
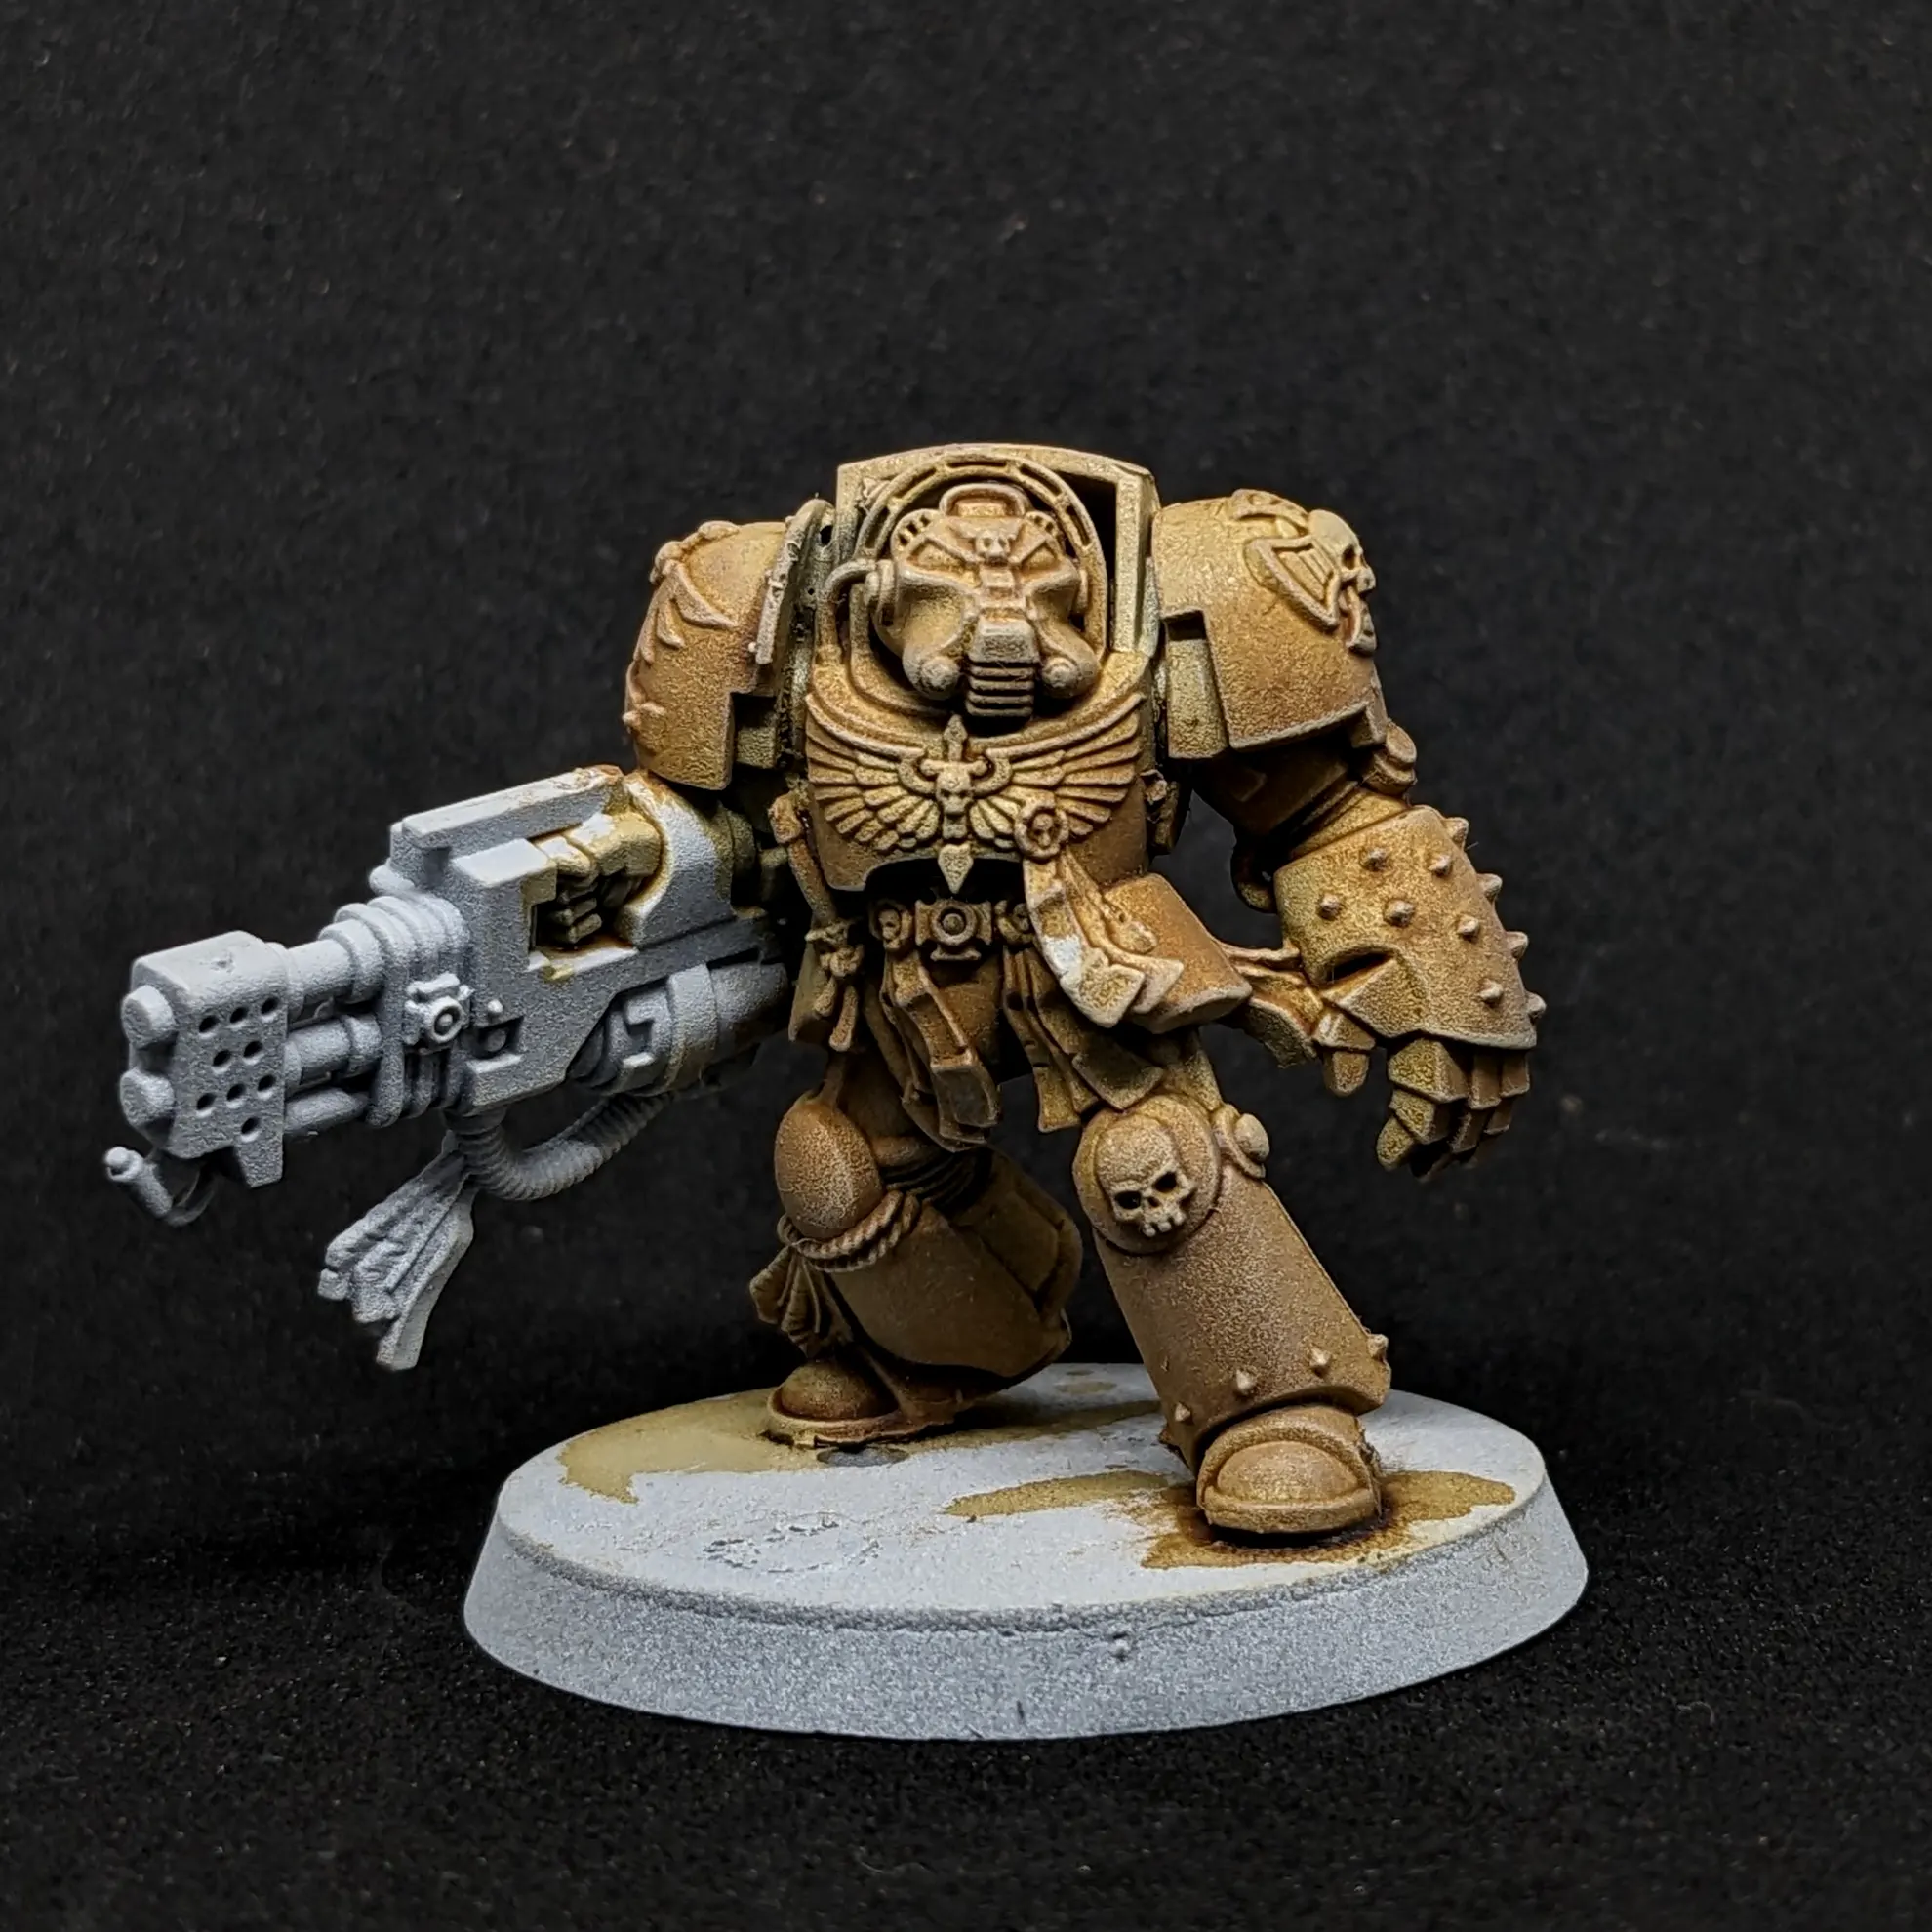
I picked out the edges and details on the models with a simple drybrush of a bone white. I have since figured out how to drybrush with smoother results, but you know this attempt actually imparted a really dusty feel - which is kind of what I wanted! They look a bit like they're made of sandstone.
STEP 4
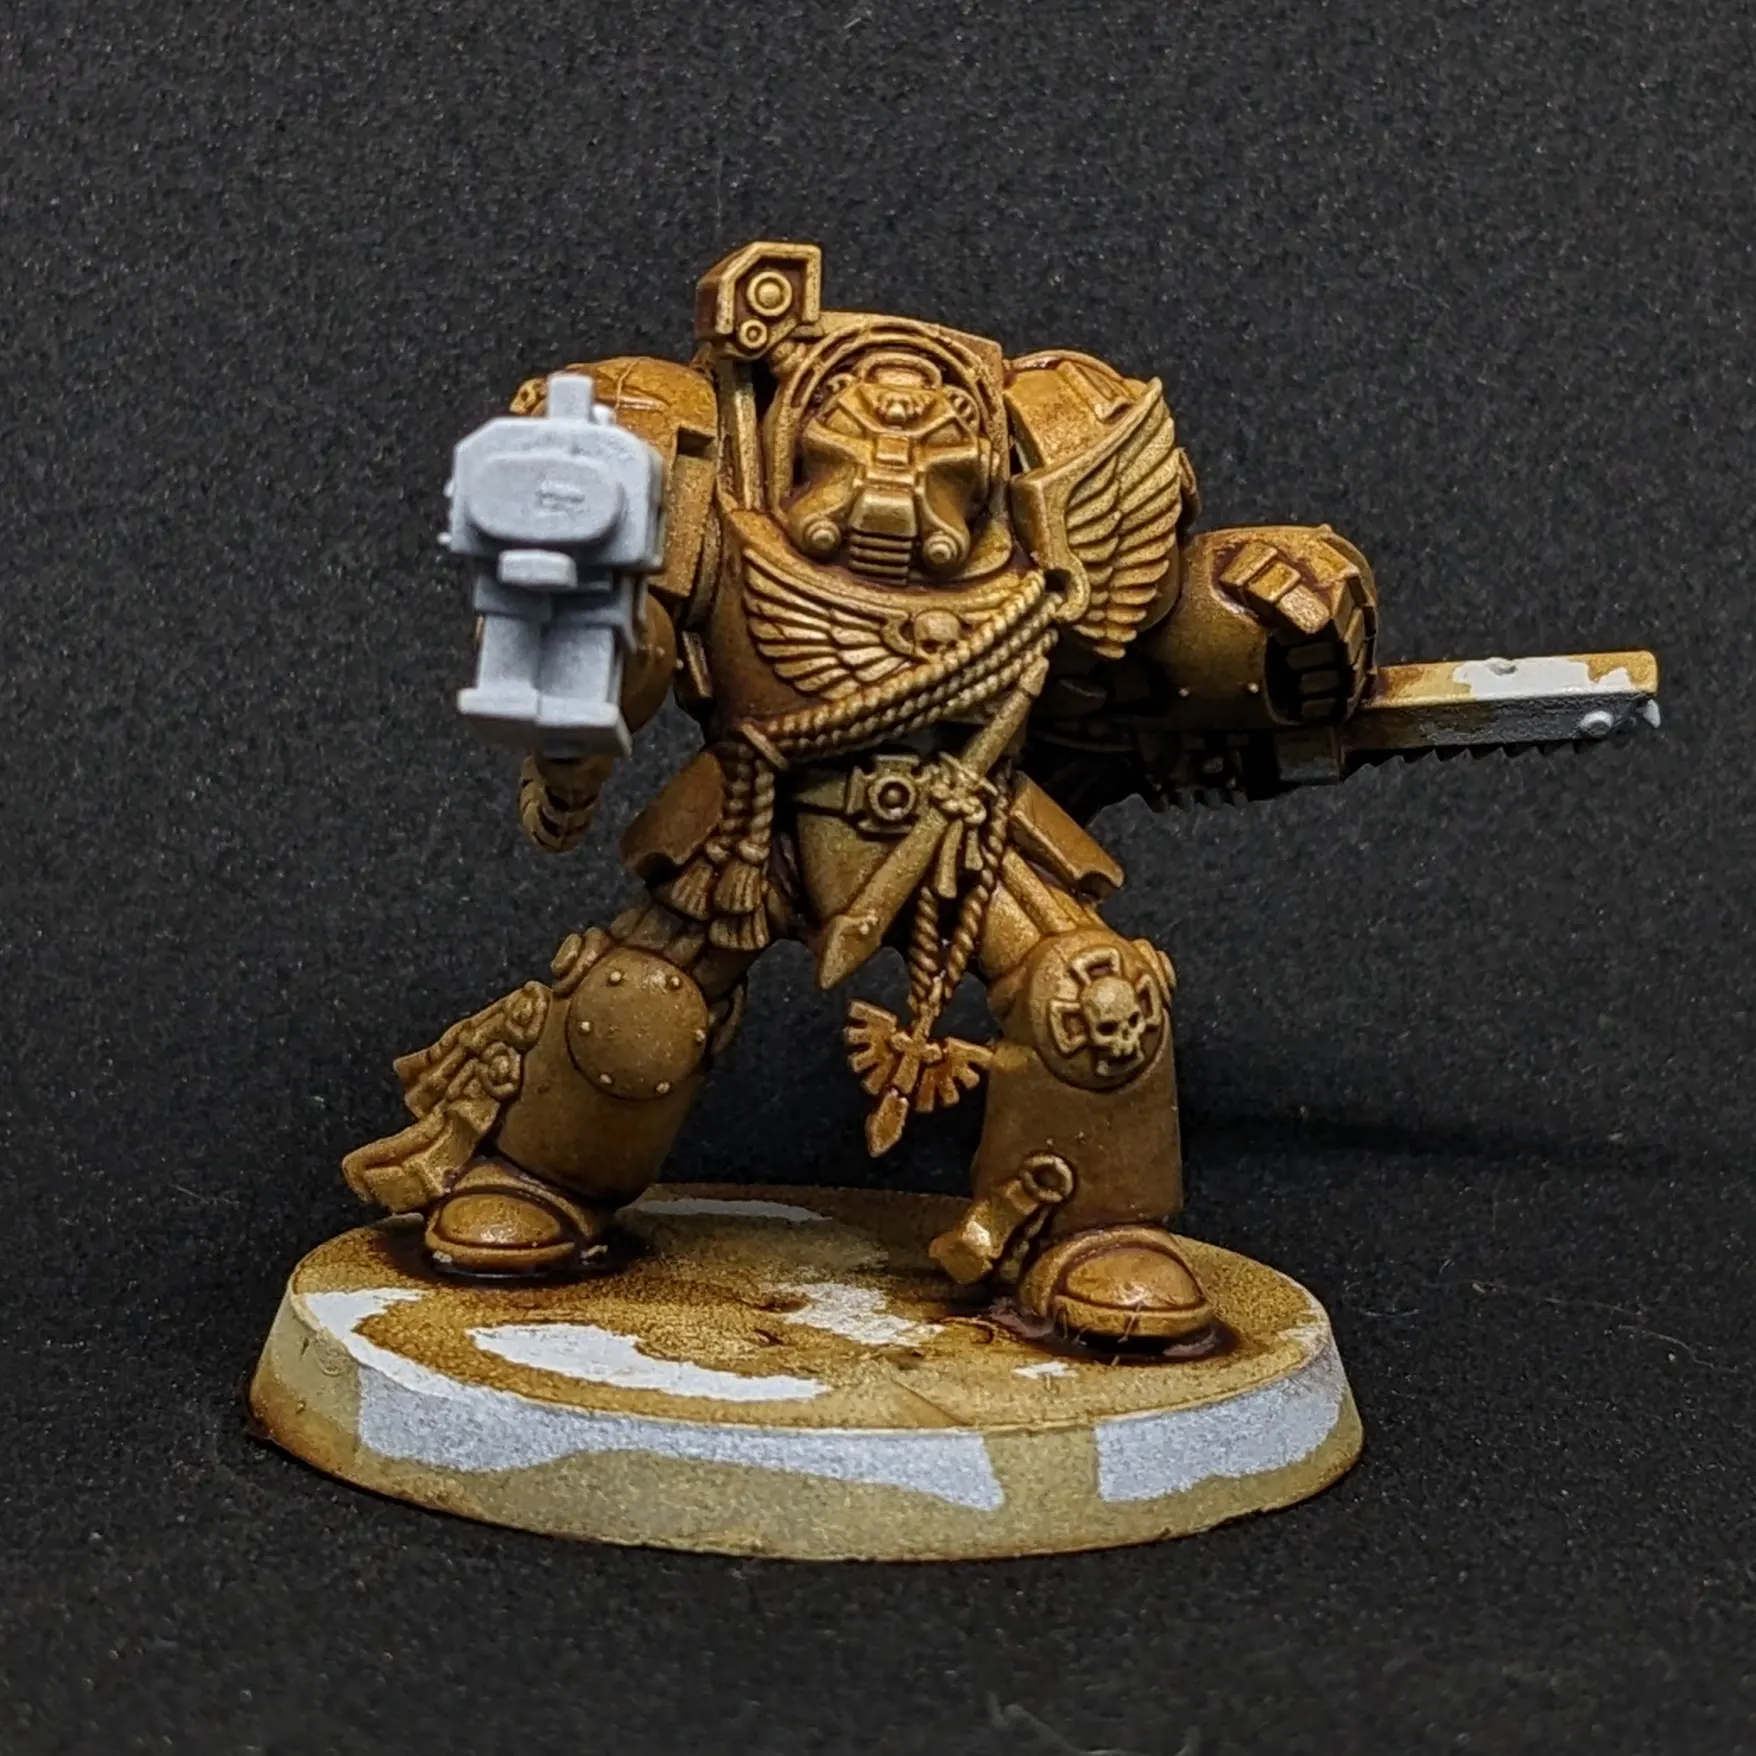
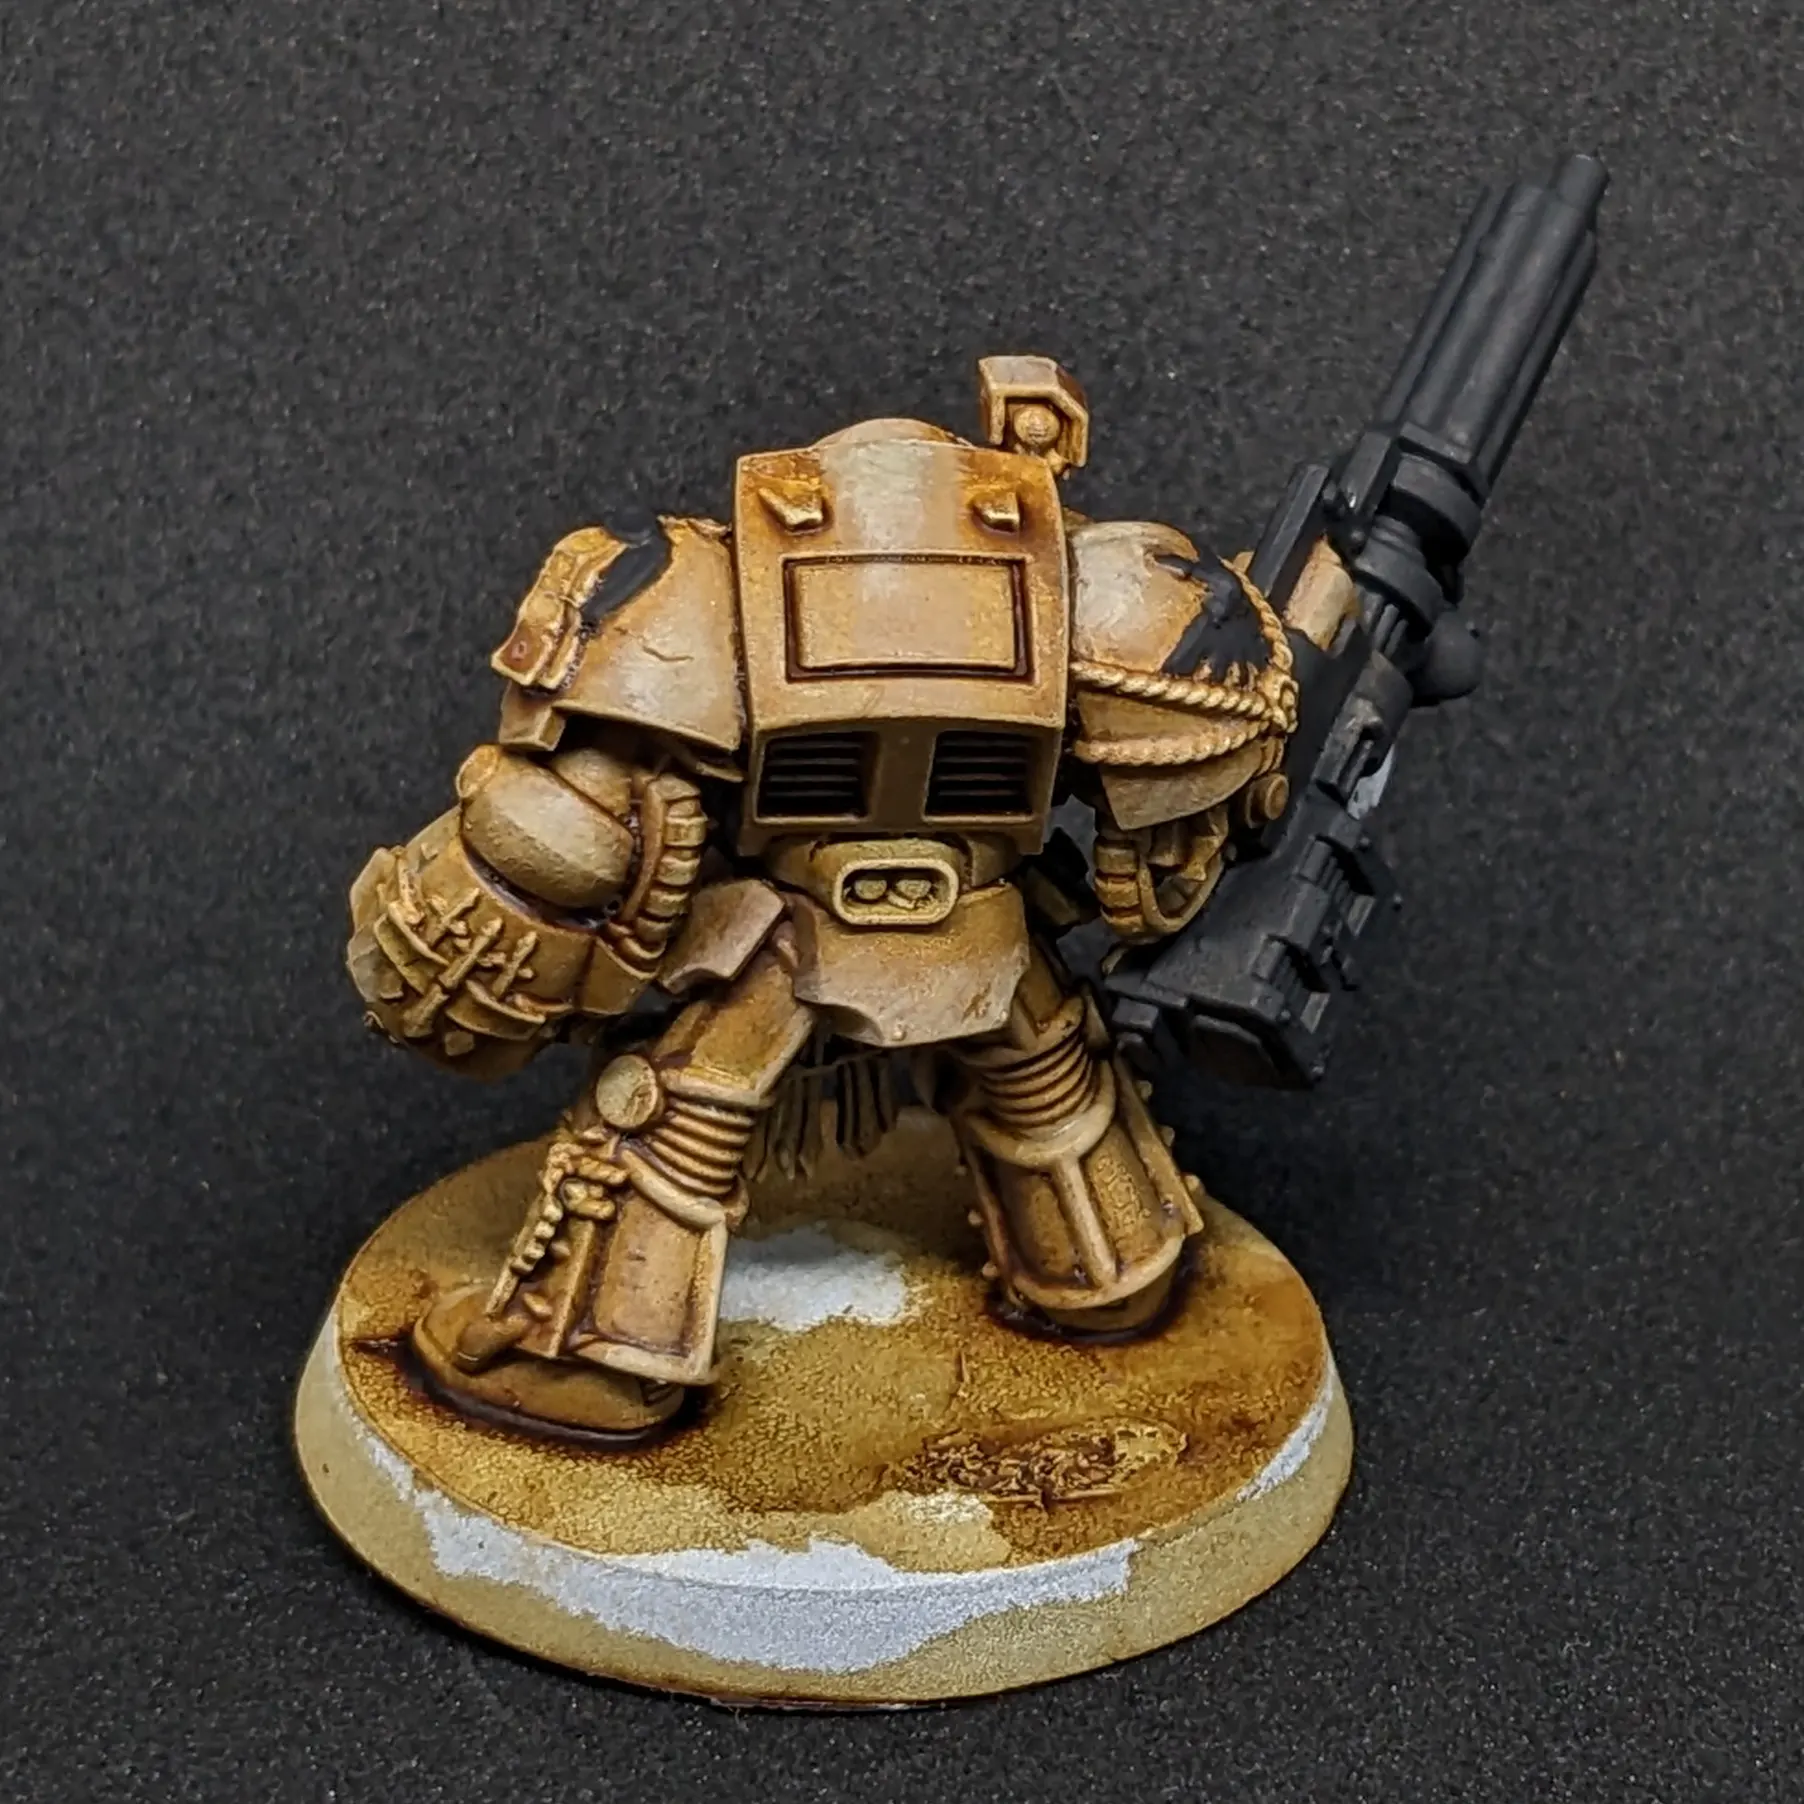
Now for the real fun part. I applied a coat of satin varnish and then a burnt umber oil wash. I've been experimenting with oil washes and they do a great job of sinking into all those recesess - enhancing all the details on the model.
If you're unfamiliar with oil-washes - oil paint needs to be diluted with mineral spirits rather than water. The surface tension is lower therefore the paint pulls into all the cracks drawing paint pigment with it. Varnishing the model first also helps this.
STEP 5
Another good reason to varnish a model before an oil wash is to protect the paint underneath. I took a cotton bud dipped in some mineral spirits and wipe most of the oil paint off the raised surfaces of the armour.
This gets rid of some of the heavy staining and helps lighten up the armour, whilst leaving the darker recesses shaded by the oil wash
I should have taken a picture at this point, but I got carried away and began highlighting up with a mixture of flat earth and white bone.
I tried to catch the parts of the armour that are naturally going to pick up more light, such as the top of the shoulder pads and the raised part of the curved back-piece.
This was a good early lesson in painting volumes for me, in particular cylinders and spheres. I didn't spent too long though as this is after all meant to be a quick and easy recipe.
STEP 6
The final step was just to pick out the most prominent parts of the face, and highest edges with pale sand. I could definitely have done a better job even now after an extra few months of painting under my belt, but I'm still really happy with how these look on the tabletop!
These models were refurbished off of ebay and therefore had many imperfections and things I would avoid if I assembled them myself. At the end of the day, perfection is the enemy of good - so sometimes you just have to enjoy the process! I am going to take a lot more time on my Deathwing Knights, and hopefully they'll end up in the gallery soon.
