Highland Themed Bases
Published 13 Oct 2023
Highland themed base on my dreadnaught
At the time of writing I’ve been living in Scotland for 9 years - it’s a beautiful place with epic, rugged landscapes - especially the further north you travel. It can also be a harsh unforgiving place and I wanted to get the feel of that in the look of these bases. I came up with a fairly easy recipe that I think captures the vibe well. This tutorial just covers the painting as I tend to assemble bases differently depending on the squad. I may add a few assembly options at some point. The ones shown here are pretty much just small rocks and sand glued down.
Unpainted bases. Some with sand and rocks, some with orchid bark.
The paints:
STEP 1
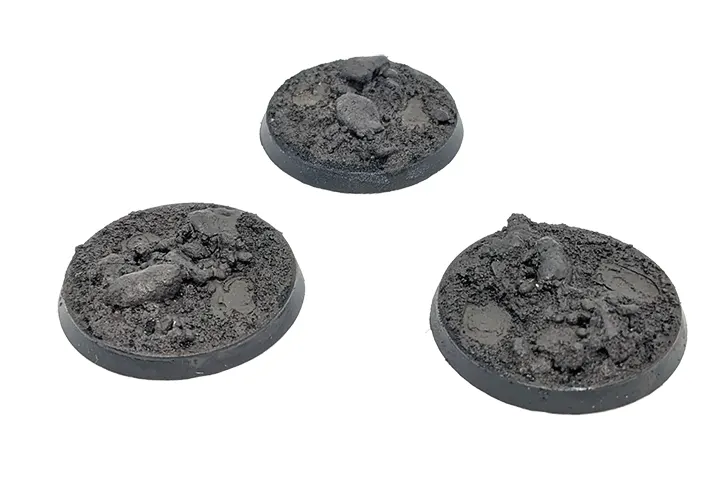
We start simple with a rough mix of Leather Brown and Black, in about a 3:2 ratio. Don't worry too much as variety will only serve to make things look more natural.
Water this mix down a bit and slap it on. It will dry very dark.
My army looks cohesive, but each unit I picture being on a slightly different type of terrain. Here I am showing the bases I used for my terminators.
STEP 2
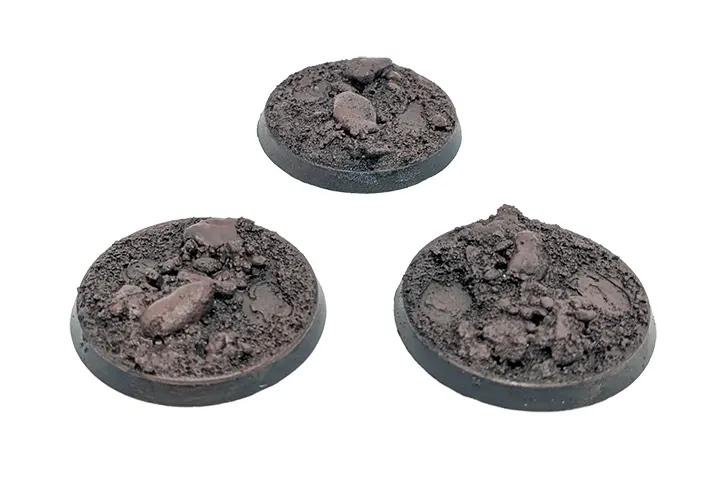
Next we try to introduce a bit of the warm, purpley red that I think sells the highland look. A heavy drybrushing with Hull Red.
I love this colour; I originally got it for a dark gore but it's more of a red brown and isn't saturated enough for blood. However it is an awesome base coat for dark flesh, and also highland bases of course.
STEP 3
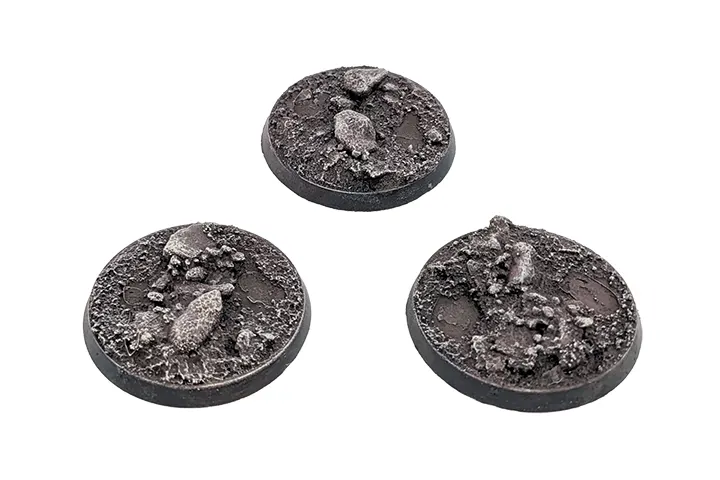
Follow with a lighter drybrush of Pale Sand. Another fantastic colour - my go to mix for highlights. I think at this stage it looks like the moon, or a dark desert.
STEP 4
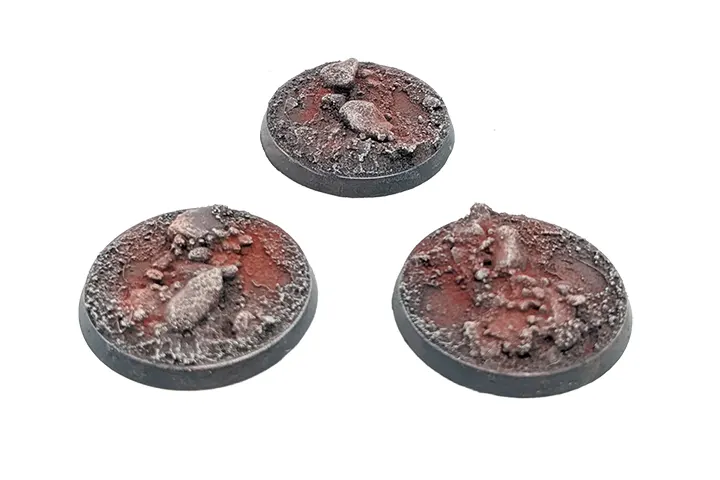
Now for the magic. Pigment powder. This one is literally called Iron Oxide, which is what I am trying to emulate. You often see seams of that beautiful rust colour running through the rocks around here. I was so happy with this purchase, it really sells it.
Again, at this stage you could leave these for a proper martian looking landscape!
STEP 5
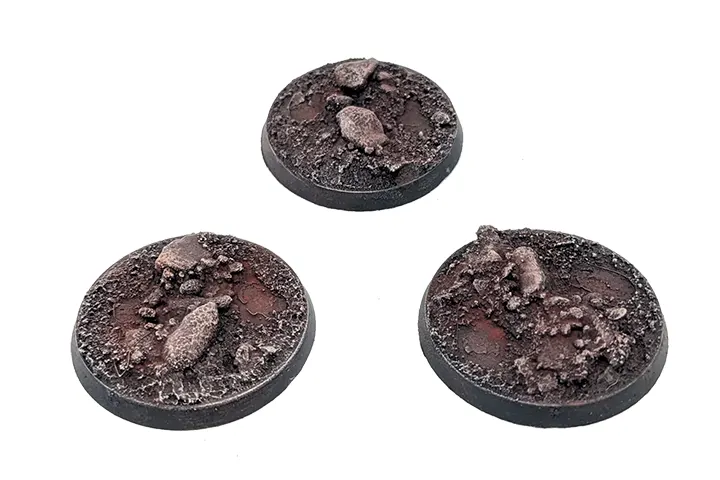
I did feel though that the intense red was a little too much for what I wanted, so I used a Black Oil wash diluted with white spirits. Any artists black oil paint will do.
Dab it on gently and it will spread across and hug the gaps because of the high capiliary action of the low density mineral spirits. I only apply this in a few areas on each base and try not to cover the whole thing. This serves to add to the variety in shade and adds depth
Sometimes this can darken the highlights too much, so another very light drybrush of Pale Sand makes the rocks pop again.
STEP 6
I still felt that they didn't quite look highland enough, but after some experimentation I found that some dabs of a watered down Flat Earth, and Deep Green in some random places really brings these to life.
It's interesting because I really didn't want any green on the bases at all, but here it is so subtle and yet it transforms these bases from dead, arid land to a rugged, but living landscape. At least in my opinion.
STEP 7
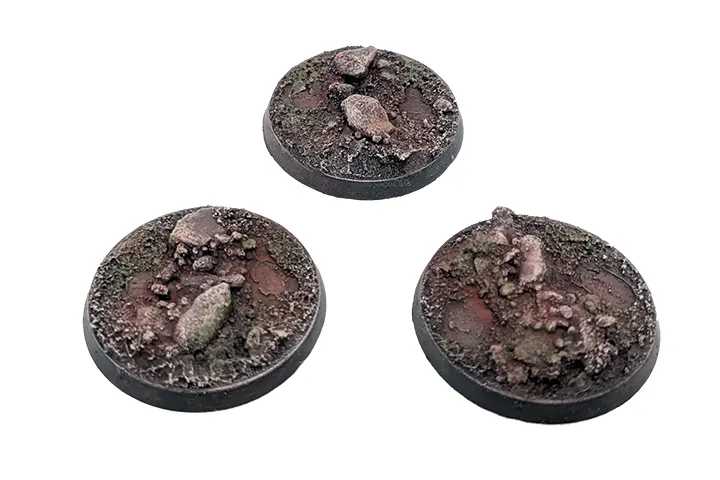
Add some grass tufts and you're done! I have these pale green tufts and burnt grass tufts from Army Painter which add the right kind of fauna.
I tend to add these after attaching the models to get the best placement. To attach the models I either pin the model or just attach directly with greenstuff and superglue - a mixture I find gives a very strong hold right away to help set the pose you want.
The finished bases on my Deathwing squad
