Creating a modular flying base using Lego
Published 7 Jul 2023
For me one of the greatest joys of miniatures modelling is making realistic looking terrain and bases for my models. In particular, in my recent revival of an old Dark Angels army from circa 2001 I discovered a cool paint scheme for creating highland themed bases. As part of the revival I pulled apart and remade a Ravenwing Landspeeder, which of course needed a cool base in theme with the rest of the army.
I’ve always hated the original flimsy plastic flying bases from games workshop so I decided to try and make something a little sturdier, that could be dismantled easily but would remain rigid and not fall off when moving the model around the battlefield.
I thought to myself and decided that Lego technic pieces would fit the criteria of sturdy and modular quite well! The cross-profiled Lego technic bars would be ideal for the main post - aside from the fact that it obviously looked like Lego! I found a ribbed sheath which would serve to cover the post and make it a bit chunkier in general. Two of the short flat joining pieces with cross shaped holes would do nicely to be glued onto the landspeeder itself, which could then be attached and removed from the main pole easily, without being too much of an eyesore.
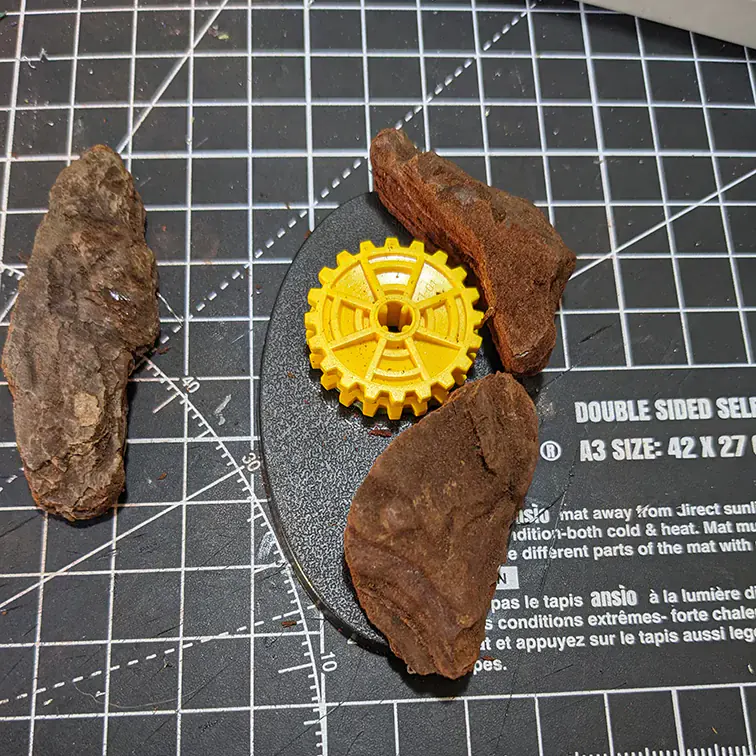
Lego bits for the modular flying base
I then found a wide circular cog which was perfect for the post to be mounted in. I don’t know what bases flyers are meant to have but I ordered a nice oval one to compliment the shape of the landspeeder. I marked the base where I would need the centre of the cog, and hence the post, the be for the landspeeder to align properly with the base and prepared some greenstuff to fill in the gaps in the cog.
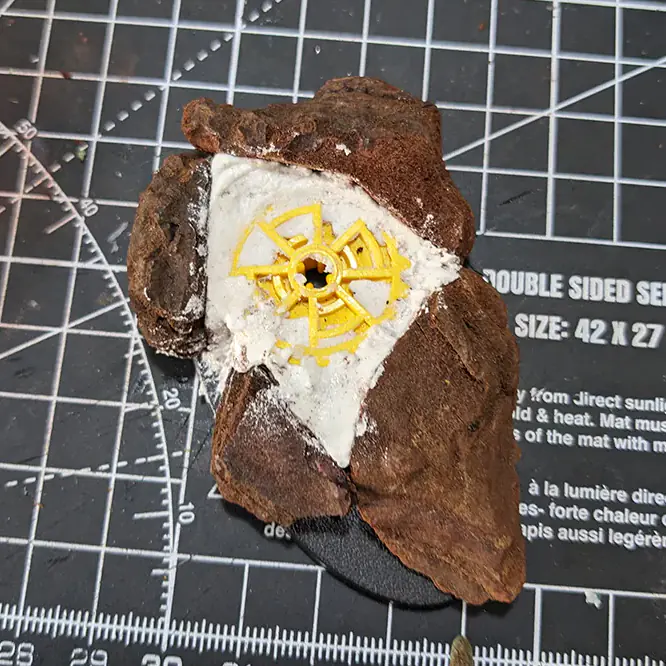
Green-stuffed Lego technic cog
With the greenstuff pressed into the cog, wet with some water and smoothed over, I used superglue to stick this onto the base. I find that greenstuff + superglue makes a very strong bond almost instantly.
The 'naked' base and the landspeeder
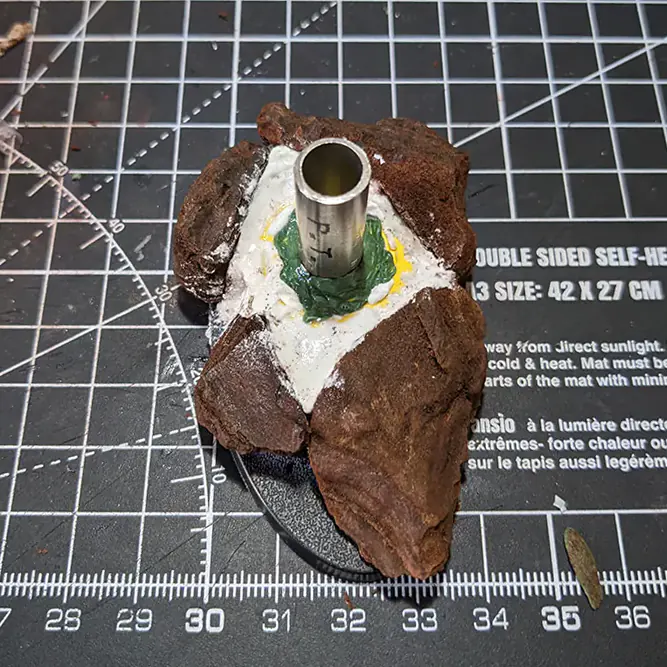
Now comes the fun part. Armed with a big bag of orchid bark chippings I delved in to find pieces which would fit around the cog. After selecting some choice bits of bark I used a hobby knife to carefully shave the bottoms flat and superglued them on. Polyfilla was then mushed into the gaps, smoothed off and left to dry overnight. I find using a plastic guitar pick with a little bit of water on it is a very good tool for smoothing Polyfilla!


I then decided that I wanted the base to be quite tall. I wanted the landspeeder to look like it was racing down the side of a mountain towards the battlefield, which is the same vibe I had for my ravenwing bike bases, and my assault squad. I imagine my fast attack pouring over the edge of a hill at the edge of the battlefield to flank the enemy. In order to make use of my cross-profile mounting pole I would need to ensure that a hole remained through the centre of the base. In order to do this cleanly I found a random metal pipe and cut a piece off ahem carefully with a hacksaw. This took absolutely ages as I didn’t have a vice to hold the pipe so this process was a little dodgy.
To add to the dodginess after attaching the pipe piece to the base with greenstuff and superglue, I decided it was still too long and had to even more ahem carefully hack off a really short bit from the top of the pipe. With that painful process out the way I sanded the top of the metal to get rid of any rough edges.


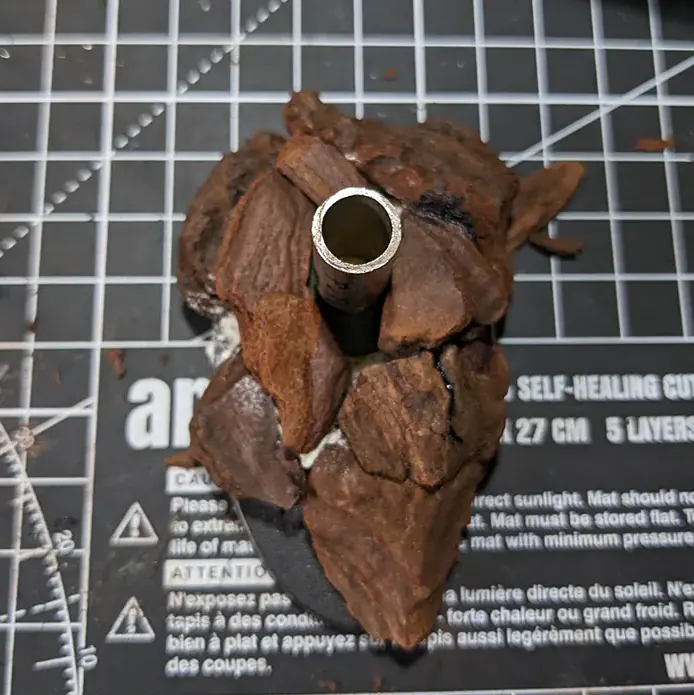
I then began to build up the base with more bark chippings, superglued them on and Polyfilla’d the next layer and left it to dry overnight. While this was drying a found the piece I wanted to make up the top of the base and very carefully drilled a hole with a powerdrill using the biggest bit I could find. Bark is very flaky and delicate so be steady and don’t rush this to get a clean hole. It still wasn’t big enough so I used a file until the hole was snug around the metal pipe.
The satisfying 'cap' to my mountain base
After it was dry, the piece was pushed on and the gaps filled with more Polyfilla and left to dry again. I applied Vallejo texture paste liberally to unify the different materials used to create the base and then followed up with sand.
The base with texture paste applied
Finally once all of that was dry I sprayed the whole thing with enamel coating from a rattle-can to lock everything in and make it more durable.
Sand and rocks glued over the texture paste
post to be continued…